DIY Chimney Sweep: Budget-Friendly Hack or Disaster Waiting to Happen?
- Geri Mileva

- Sep 11
- 5 min read

Chimney sweeping is an important part of home upkeep, but it’s a task that a lot of homeowners usually outsource. According to Business Research Insights, the global chimney sweeping market is expected to reach 0.79 billion USD by 2033 from 0.53 billion USD in 2024, underscoring how it’s growing worldwide.
If you’re looking to DIY or save on chimney sweeping costs, you need to know when it’s safe for you to clean your own chimney or when it’s best to call in professionals. This guide will walk you through DIY chimney sweeping.
The quick answer (when DIY is OK—and when it’s not)
If we’re talking light touch maintenance (like emptying ashes, wiping doors and gaskets, clearing a cap screen you can safely reach, or doing a basic visual check with a flashlight), DIY can be perfectly reasonable for a careful homeowner.
However, a full sweep and inspection is another story. If you can’t confidently identify the creosote stage, your liner type and condition, and basic draft behavior, it’s not a DIY job.
Industry standards recommend an annual inspection (NFPA 211 and CSIA guidance are clear on that point) regardless of how often you burn. Light, surface-level care can be done at home, but deep cleaning and system assessment with a certified pro.
Why homeowners consider DIY in the first place
A lot of homeowners consider DIY because chimney cleaning seems like an easy enough job. Here are the three main reasons that they attempt to clean chimneys by themselves.
First is the cost. A professional sweep and inspection costs real money, and if you burn frequently, you may need service more than once a season.
The second involves timing. Peak season for chimney sweeping books up fast, and waiting weeks to use the fireplace can be frustrating.
The third has to do with control and trust. Some folks feel better seeing the soot coming off the brush themselves and knowing exactly what was (and wasn’t) done.
All are fair points, but the reality is that what looks like “just brushing soot” is a safety-critical task with hidden failure modes. The wrong brush can scratch metal liners or miss corners in a rectangular flue—exactly where dangerous deposits hide.
What a pro actually does (and why it matters)
Inspection levels for cleaning the chimney
● Level 1 (visual):
○ Flashlight check of readily accessible areas (firebox, damper, flue entrance, cap)
○ Confirms basic condition and clearances for systems with no changes or known issues.
● Level 2 (camera and accessible spaces):
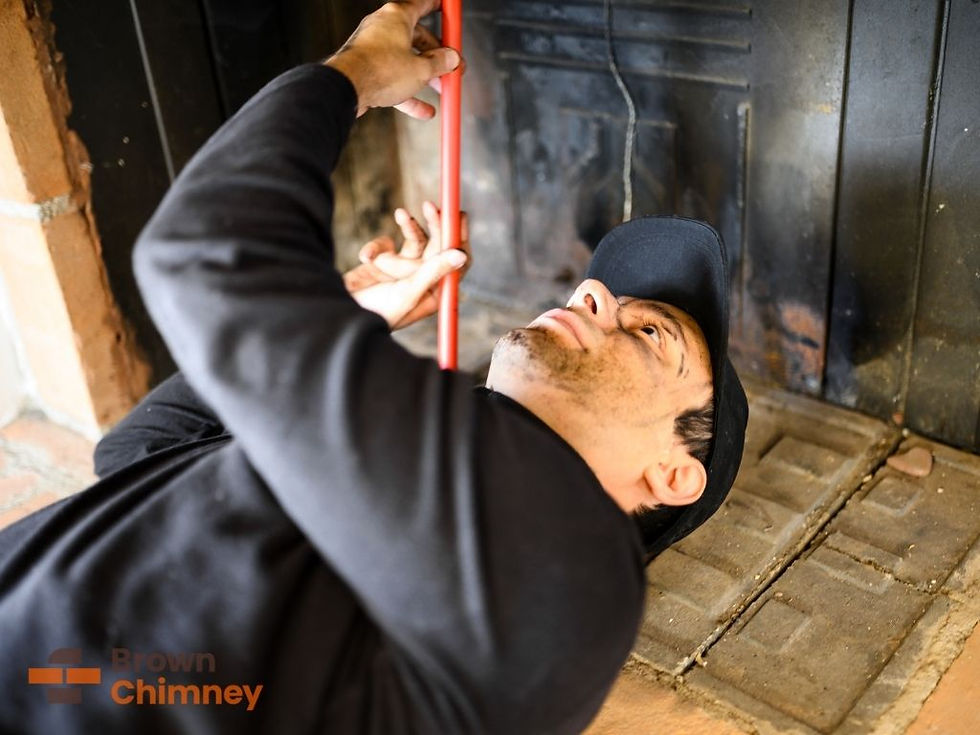
○ Video scan of the entire flue, plus accessible attics, basements, crawl spaces, and appliance connections.
○ Required after a change in appliance or fuel, a property transfer, or a known event (e.g., chimney fire, storm).
○ Catches cracked tiles, warped liners, offsets packed with deposits, hidden gaps, and chase leaks.
● Level 3 (intrusive, post-event):
○ Limited demolition to access concealed areas when serious hazards are suspected.
○ Used after fires or structural events to verify integrity before the system is used again.
Creosote stages (what’s in your flue)
● Stage 1: Sooty or powdery
○ Loose, matte deposits that respond to standard hand or rotary brushing.
○ Typical of hotter, well-ventilated burns with seasoned fuel.
● Stage 2: Flaky and crispy
○ Layered, crispy sheets that require stiffer brushes, rotary whip heads, or scraping.
○ Often forms with cooler burns, marginal draft, or mixed fuel moisture.
● Stage 3: Glazed, shiny, or tar-like
○ Not safe for DIY cleaning
○ Hard, glassy glaze that can ignite violently, and brushes just skate over it.
○ Needs specialized methods (chemical treatment, rotary chains, or pro-grade systems) and a certified technician.
Pros also have several tools that homeowners typically don’t have:
● Correctly sized brushes and rods
● Rotary and whip systems
● HEPA dust collection and containment
● Video inspection cameras
● Draft and safety testing tools
● Documentation that protects you
Thorough cleaning and diagnosis reduce chimney-fire risk, carbon monoxide exposure, and premature liner or masonry failure. Proper tools and methods also prevent collateral damage (scored liners, dislodged tiles, cracked crowns) that DIY attempts often miss or cause.
PPE and containment checklist (no shortcuts)
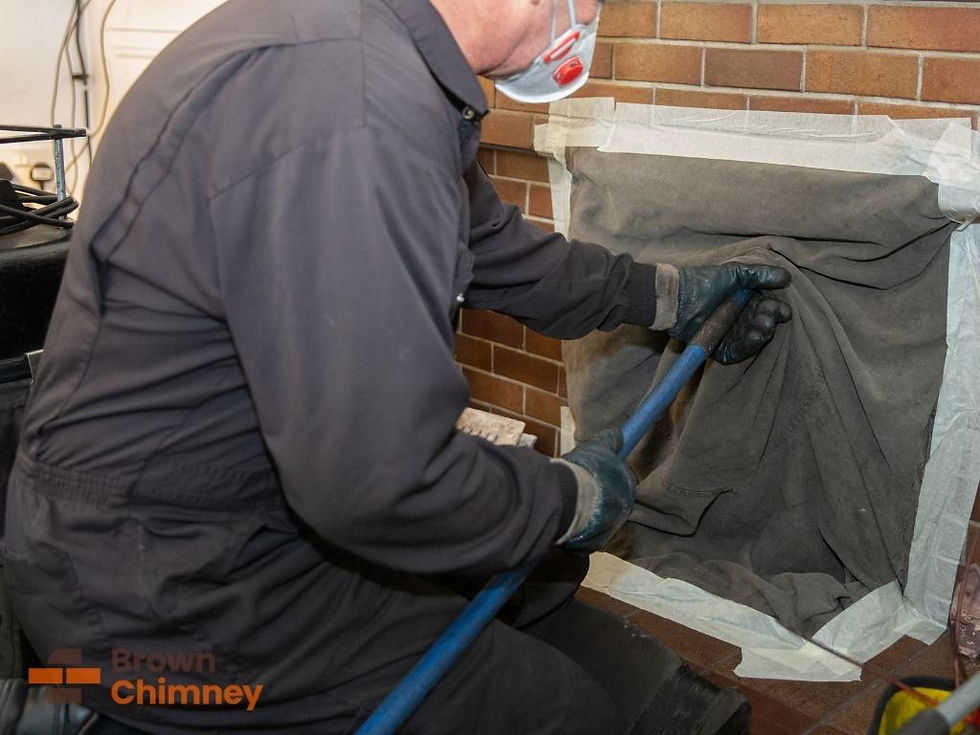
● Wear proper respiratory and skin protection. A half-mask P100 respirator, sealed goggles, gloves, and a brimmed hat keep fine soot and creosote out of your lungs, eyes, and hair. Wear disposable coveralls for safety.
● Isolate the work area before you start. Use poly sheeting and painter’s tape to seal the fireplace opening and create floor-to-ceiling containment so airborne dust stays inside the hearth.
● Control dust and protect your home’s air. Use a HEPA vacuum (not a standard shop vac) for cleanup. Close or tape off HVAC returns in the room, and verify your carbon-monoxide and smoke alarms are powered and functional.
Tools and sizing
● Match brush material to the liner. Use poly or nylon brushes for metal liners to avoid scoring. Use wire only on clay tile, and even then with a light touch to prevent damage.
● Match brush shape and size to the flue. A round brush will miss the corners of a square or rectangular flue. Measure the inside dimensions and choose a brush that actually fills the space.
● Choose the right rods and method. Flexible fiberglass rods work for gentle passes; rotary systems demand more control. Know when a top-down approach is safer than bottom-up (e.g., tall masonry stacks with clean roof access).
Step-by-step cleaning for Stage 1 deposits
Confirm the system is clear and safe to work. Check for animals, nests, and obstructions, and verify the damper is open before inserting any tools.
Use controlled, even passes. Advance the brush steadily without over-spinning near offsets or thimbles, where aggressive rotation can damage components.
Clean beyond the flue. Address loose soot in the smoke chamber and on the smoke shelf without gouging, parging, or mortar; collect and contain debris immediately.
Do not force hardened deposits. Never chip at or scrape glassy, shiny buildup because that is Stage 3 creosote and requires specialized removal by a professional.
Bottom line: don’t gamble with your flue
Saving a few dollars isn’t worth risking a fall, a chimney fire, carbon monoxide exposure, or a denied insurance claim. Keep DIY to true light maintenance, such as ash removal, simple visual checks, and clearing a reachable cap screen, and leave full cleanings and inspections to CSIA/NCSG-certified sweeps.
If you’re unsure what you’re seeing inside your flue, don’t risk it. Brown Chimney’s CSIA-certified team can spot issues in minutes — saving you from fires, CO leaks, and costly repairs. Book your inspection before you light another fire.


